In a hurry? TL;DR
Background
I run a Sitecore study hall with my development team for the purpose of establishing a solid foundation for new Sitecore developers and to keep certifications current for our experienced team members.
For every one of my cohorts, the single most challenging aspect of working with Sitecore 9.x is the installation of Solr.
I cut my teeth on Solr when I first started learning Sitecore and I had zero experience with building a search index. Two years later I can say that I’m an enthusiast.
Many developers may dismiss search as a second class citizen when it comes to the installation and configuration of your Sitecore installation.
Your search index is just as important to the Sitecore infrastructure as your SQL Server repository.
If you want a site that actually performs well in your development environment and at scale, you should build your site so that your search index can also scale.
Many architects will leverage Azure Search for staging and production environments. This is a reasonable option, but I have not had a good experience. This is primarily due to the lack of an on-premise option for installing Azure search on a developer’s machine. This leads to environments that do not mirror each other in terms of foundational technology, making it a challenge to support.
I’m going to walk you through the process of setting up Sitecore to run on a cloud-managed instance of Solr. The provider I’ve chosen is SearchStax, because of their existing relationship with Sitecore.
Key Terms
- SolrCloud – A high availability option for running Solr
- Zookeeper – A centralized configuration repository (minimizes configuration at the node level)
- Node – a single instance of Solr. A node can host multiple cores.
- Core – A physical document repository
- Shart – When you fart and mess your pants.
- Shard – A subset of documents within a collection
- Collection – A logical pointer for a set of documents or a bundle of shards (thankfully not sharts)
Read more on Solr’s site
Standalone vs SolrCloud
Solr and SolrCloud are not separate things; Solr is the application while SolrCloud is a mode of running Solr. The alternative to running Solr in SolrCloud mode is running it in standalone mode which is most, if not all of our installs today.
Advantages of SolrCloud
- Centralized configuration management using ZooKeeper
- Index replication
- Failover
- Load balancing
- Distributed queries
- Scalability
Search Topologies
SCH is short for Search
- SCH0 – Your search node is running on the same machine as Sitecore.
- 0 dedicated instances.
- SCH1 – A single search node on its own, dedicated machine
- SCHx – Multiple search nodes running in a clustered environment
SCH1 and SCHx are typically setup as virtual machines or using a hosted provider. Setting up your own virtual machine requires in-depth knowledge of Solr configuration, while a hosted provider eliminates the need for this knowledge.
This walkthrough will install a SCH1 topology against Sitecore 9.1 (XP0) using a hosted provider.
Configuration Steps
I assume that you already have a vanilla version of Sitecore 9.1 installed on your machine. If you don’t, I recommend using SIFless 2.2 with the SCH0 topology (Solr installed locally).
- Create single Solr node (SCH1) in SearchStax ~ 10 mins
- Add basic security ~ 1min
- Run Zookeeper and Collection Scripts ~ 5 mins
- Update Sitecore ConnectionString ~ 1 min
- Populate ManagedSchema ~ 5 min
- Rebuild indexes ~ 5 min
Creating your Solr Node in SearchStax
SearchStax offers a 14 day free trial which has allowed me to experiment with their offering and establish whether it can be configured to work with Sitecore 9.1.
https://app.searchstax.com/freetrial/
After signing up for the trial, you will create your deployment within the Cloud Manager.
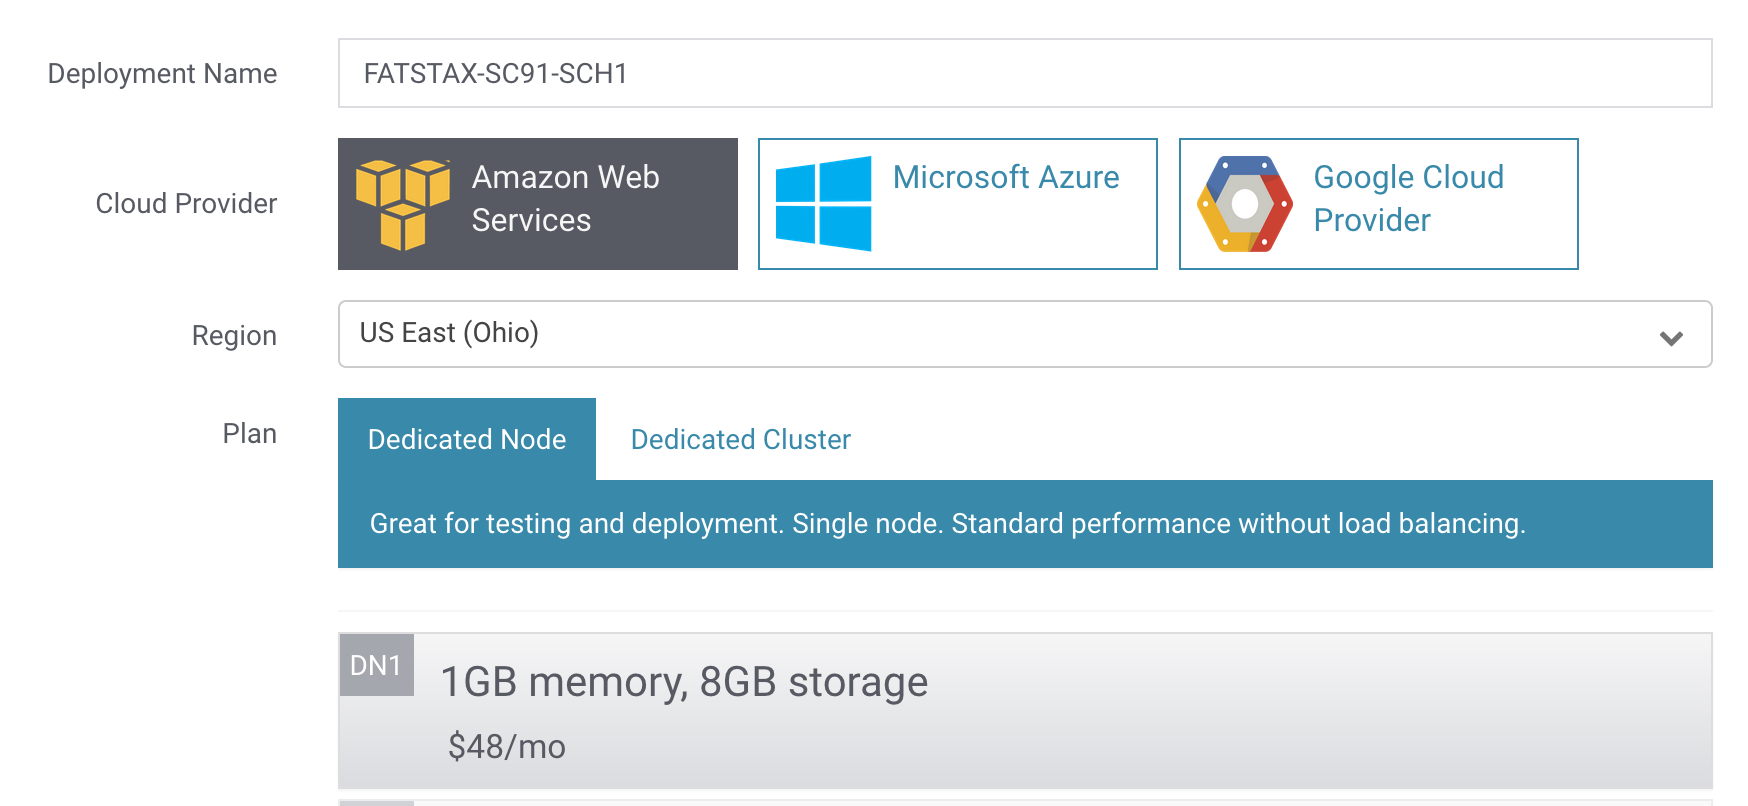
The deployment requires:
- Name
- Cloud Provider
- Region
- Plan
- Tier
- Solr Version
For the trial, your options are limited to AWS as the cloud provider and you can create either a single or clustered node in the lowest pricing tier. For this example, Solr 7.2.1 is being used for Sitecore 9.1.
The deployment process takes a few minutes and you will receive an email once the deployment is completed.
Securing your Node
Adding security to a SearchStax node is simple. You can add IP address whitelisting or basic authentication with the click of a button. I’m choosing basic auth to demonstrate the functionality. Whitelisting is tricky in a Sitecore PaaS environment since the App Services have a range of outbound IP addresses.
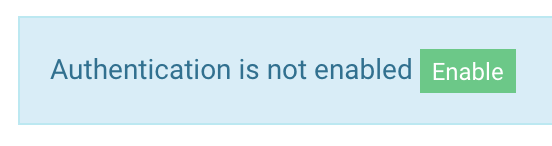
- Under your server settings, select Security and then Auth.

- You’ll need to enable Authentication. This will force a restart of your node.
- Next, add a user. I’m naming my user
searchuserto follow Sitecore’s database user naming standards like: masteruser, coreuser, etc. I give this user admin privileges because it will need to be able to create, read and write collections.
Keep this username and password handy as you’ll need it later for the automated script that creates the Solr collections.
Solr Collection Configuration with Zookeeper
The next step is to configure Solr collections to match the default Sitecore indexes. Since SolrCloud can have multiple nodes, it doesn’t make sense to house the configuration for each collection within the node. A Zookeeper ensemble helps us isolate the configuration so that it can be managed centrally.
Sitecore and SearchStax do provide some documentation on configuration within ZooKeeper, but at the time of writing, these documents fail to point out that each collection requires its own configuration uploaded to Zookeeper. This detail took many hours to resolve.
The documentation above also uses the ZooKeeper CLI to upload the configuration files. This batch file has different versions based on the version of Solr you are using and is not particularly easy to use with Powershell. Luckily for us, SearchStax has a useful REST API which abstracts away the details of the Zookeeper CLI.
I’ve managed to automate this entire process using a pair of Powershell scripts.
IMPORTANT: Powershell historically has not done a good job with multipart form submissions. For this reason, the Zookeeper configuration requires Powershell Core. If you use Chocolatey, you can easily install the package in Windows with this command:
choco install powershell-core
Before you can run the scripts, you will need to collect some required parameter information:
- Search Stax Account Name
- Search Stax Deployment ID
- Search Stax Username
- Search Stax Password
- Solr Cluster Host
- Solr Username
- Solr Password
You can find your Search Stax Account Name in the top-right corner of the screen when you are logged-in.

You can find your Deployment ID when you click on the deployment you just created within the Cloud Manager. The deployment ID is in the url:
https://app.searchstax.com/admin/deployment/ssXXXXXX/servers/
The Search Stax username and password are used for connecting to the Zookeeper API provided by SS. You created these items when you signed up for your SS account.
The Solr Cluster Host is located under the Server management tab and looks similar to this:
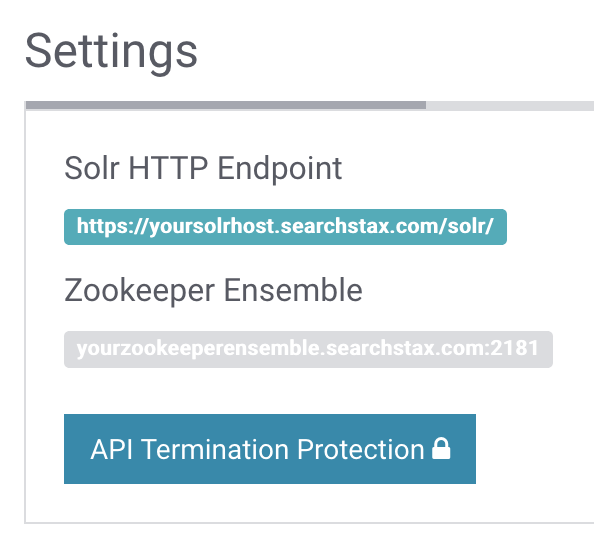
The Solr username and password come from the basic auth security that you setup against your Solr node in the steps above.
TL;DR;
Now that you’ve collected all of your parameters, head on over to Github to clone the repository for automating this setup process:
https://github.com/ChetPotvin-RP/sitecore9-solrcloud-automation
Once you’ve cloned the repo locally, you’ll see that there are three Powershell scripts in the .\scripts folder.
Open the file named: 1-Invoke-SearchStax-ConfigureSolr-Demo.ps1 and fill in the parameters
#SS = Search Stax
.\2-Write-SitecoreZookeeperConfiguration.ps1 \`
	-SearchStaxAccountName "{Your SS Account Name}" \`
	-SearchStaxDeploymentId "{Your SS Deployment Id}" \`
	-SearchStaxUsername "{Your SS Username}" \`
	-SearchStaxPassword "{Your SS Password}" \`
	-SitecoreConfigZipFileName "sitecore\_configs.zip" \`
	-CollectionPrefix "fatstax"

.\3-Create-SitecoreSolrCollections.ps1 \`
	-SolrHost "https://{Your Solr Instance}.searchstax.com" \`
	-Username "searchuser" \`
	-Password "{Your Basic Auth Password}" \`
	-CollectionPrefix "fatstax"
Execute this script from Powershell Core. After each configuration is uploaded and each collection is created, you should receive a Success or Failure message.
Connecting Sitecore to the Hosted Node
Once you’ve uploaded your Zookeeper configuration and created the Sitecore collections, you’ll connect Sitecore to your Solr instance. As you may know, there are several connection strings in Sitecore 9.1 that will need to be updated:
{WebRoot}\\**{SitecoreSiteName}**\\App\_Config\\ConnectionStrings.config{WebRoot}\\**{xConnectSiteName}**\\App\_Config\\ConnectionStrings.config{WebRoot}\\**{xConnectSiteName}**\\App\_Data\\jobs\\continuous\\IndexWorker\\App\_Config\\ConnectionStrings.config
The connection string follows this format to allow the use of basic authentication:
<add name="solr.search" connectionString="https://{username}:{password}@{solrhost}/solr" />
The xConnect connection string is a little different and includes the xDB collection name as part of the route:
<add name="solrCore" connectionString="https://{username}:{password}@{solrhost}/solr/fatstax\_xdb" />
It’s a good idea to restart the Sitecore and xConnect sites in IIS after making these connection string changes.
Populate the Managed Schema
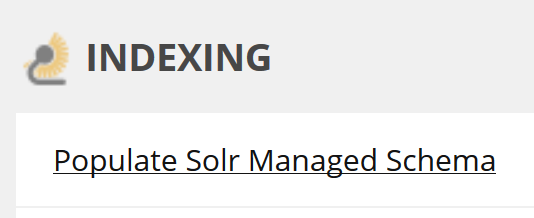
Next you’ll need to login to Sitecore and open the Control Panel. Under the Indexing group, select ‘Populate Solr Managed Schema’
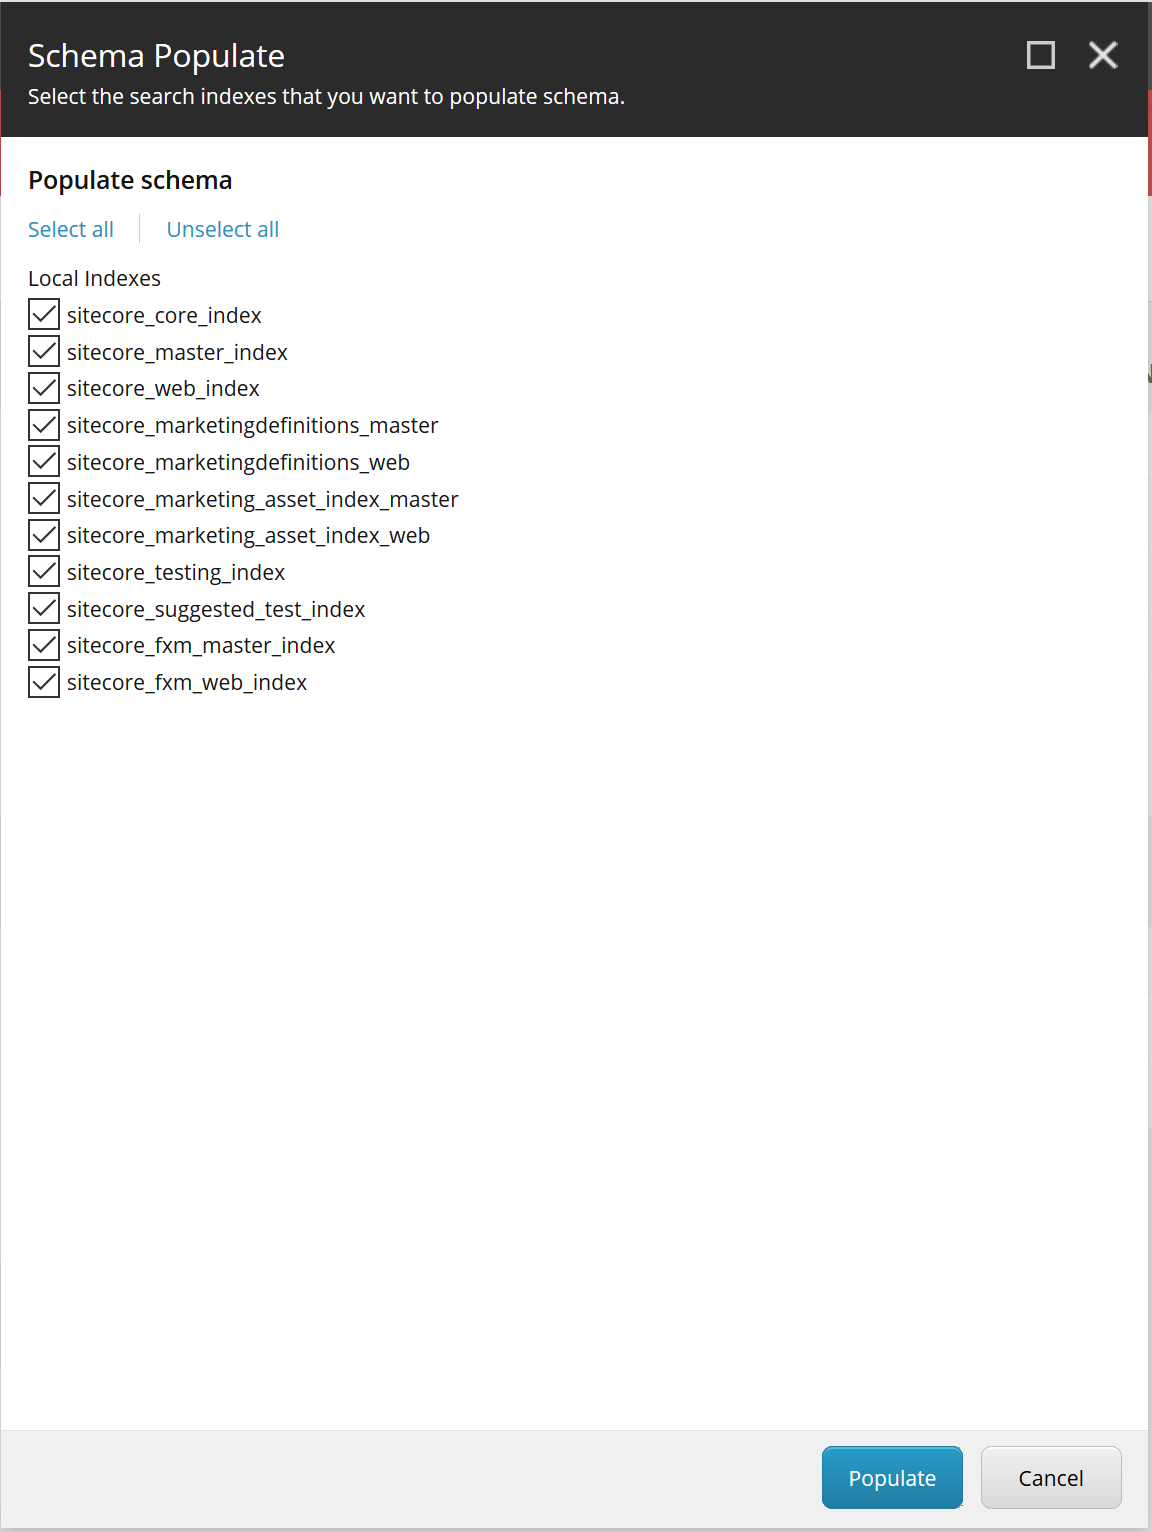
Select all of the indexes and click the Populate button
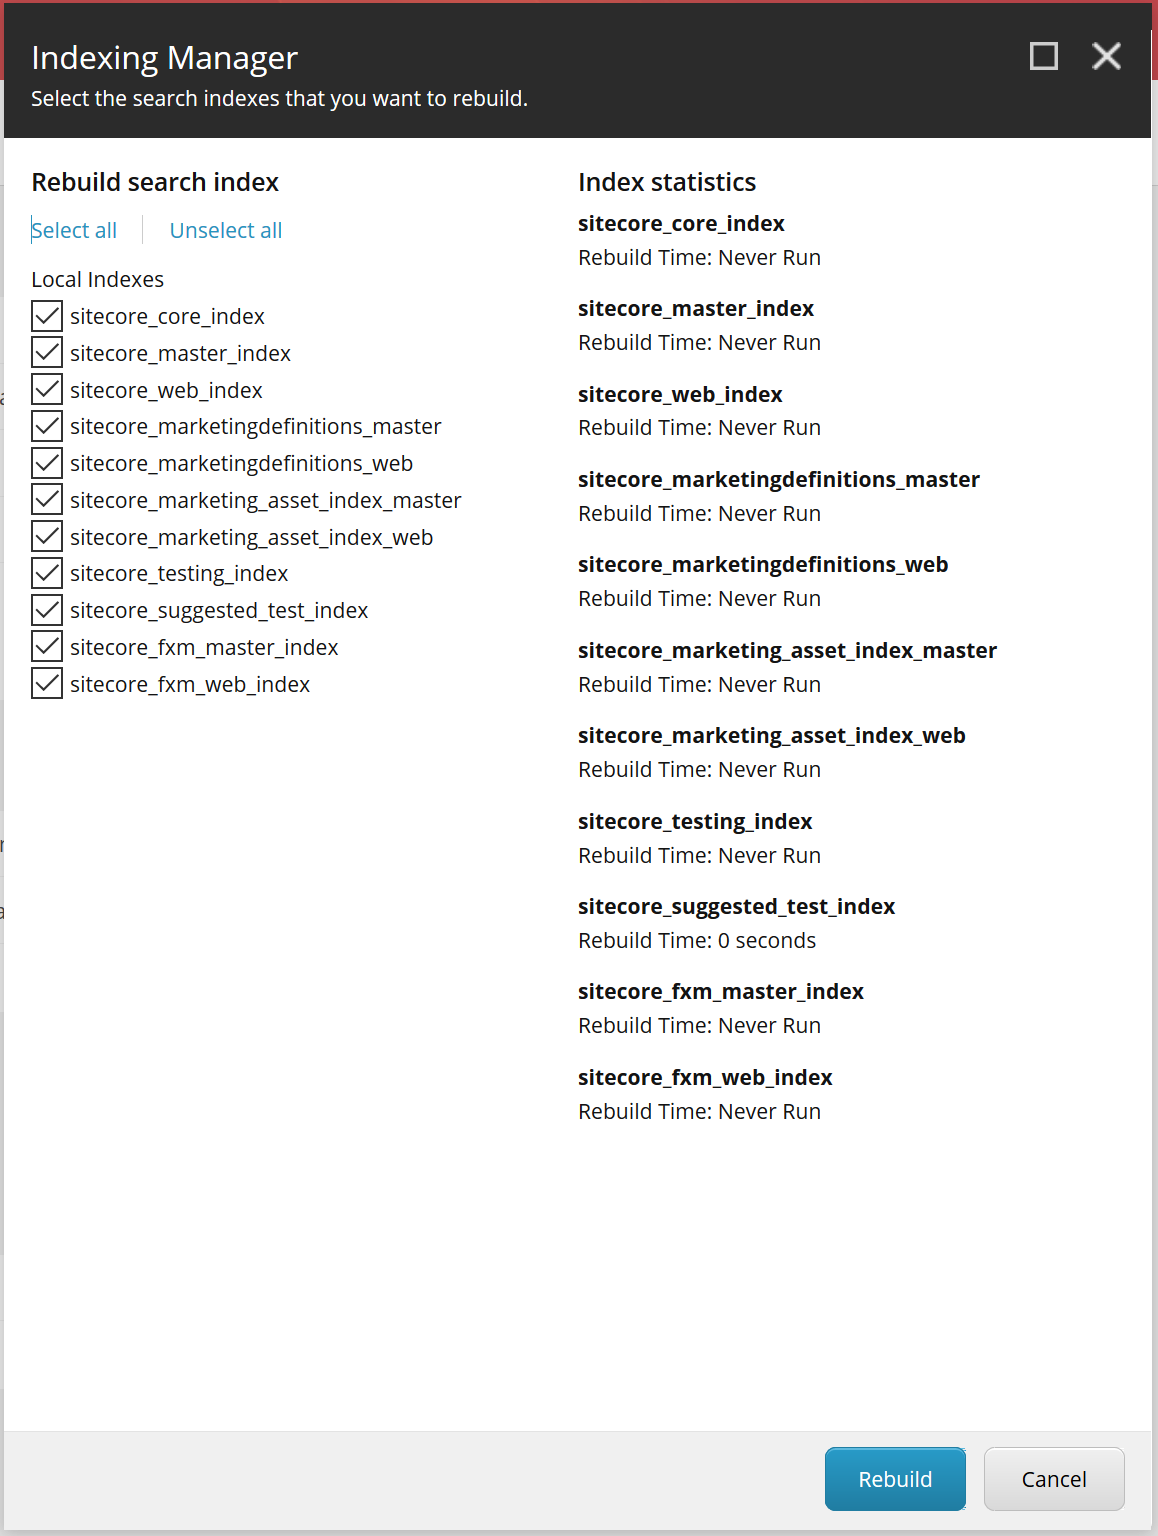
Rebuild the Indexes
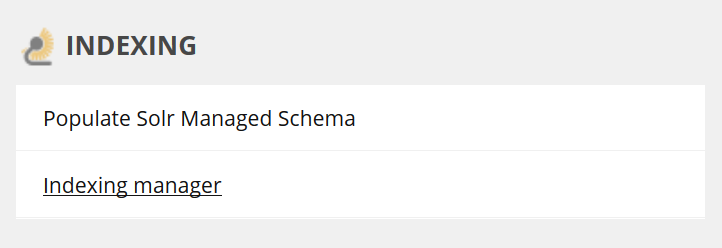
Next you’ll need to rebuild the indexes within the Control Panel. Select the indexing manager, select all of the indexes and hit the Rebuild button.
After-Thoughts
I have not found any SIF templates that support SolrCloud installation. I’m sure that will be the topic of a later post.
The two documents provided by Sitecore and SearchStax indicate that you should append ‘;solrCloud=true’ to the end of your connection strings. I have not had any luck with this configuration.
Additional Resources
- https://doc.sitecore.com/developers/91/platform-administration-and-architecture/en/walkthrough–setting-up-solrcloud.html
- https://www.searchstax.com/docs/sitecore-9-solr/
- http://www.benlipson.net/2018/12/configuring-solrcloud-for-xconnect/
- https://horizontalintegration.blog/2019/02/03/key-caveats-while-integrating-solrcloud-with-sitecore/